
The recently Gargantuans book release event featured an interesting two-caster format that I was really excited to try, but I’m currently on a bit of a break from my only army with multiple casters– Cygnar– and I only own one Legion warlock. Between the two options, making a new model to play with my Legion seemed like an easier task than somehow getting excited about my Cygnar again, so I investigated my options.
The thing is, though, that my lack of Legion warlocks isn’t an accident– I made an intentional effort to collect a single-caster force, and though I do eventually plan to add a second caster, this will require a completely from-scratch sculpt that I didn’t have time for before this event, so I needed to find another option.
This is how I found myself sitting in our store with a few associates, chatting about Minions. The Farrow and Gatorman warlocks are mostly played within the Minion Pacts, but they do still work for the main Factions when the format allows it, so I started looking at what these models would contribute to my army. Many of them immediately seemed to be way too Pact-oriented (Carver, Barnabas, Midas, Arkadius), while others just didn’t contribute much to my army (Calaban, Maelok). The only two who seemed like they might help were Sturm & Drang (a decent lockdown feat, and Telekinesis is always a massive boon) and Rask. Between the two, Rask had the less ugly model, so I shrugged and picked him up.
However, despite him being less ugly than the Pigtaur, I still really dislike the “RRRRAAARR ANGRY PIRANHA” face, so I decided to see what I could do to make him a bit more in line with my tastes.
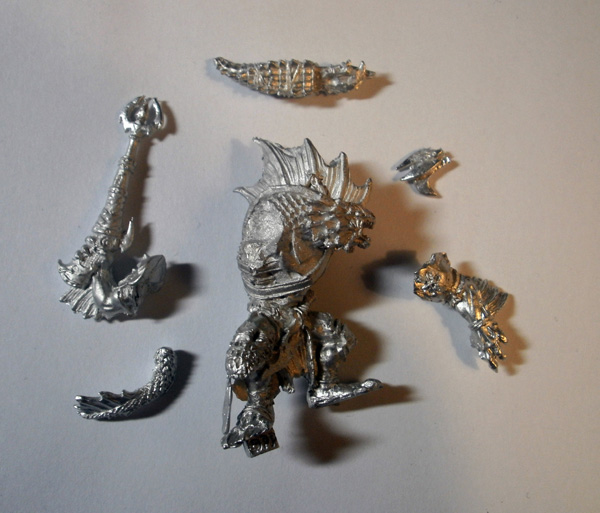
I decided not to get too elaborate as far as swapping components out– my Rask would still use the same weapons, hands, ammo quiver, and main body as the base model. I would primarily be changing the model’s head, and also re-posing it into something a bit more practical– a two-handed grip on the gun.
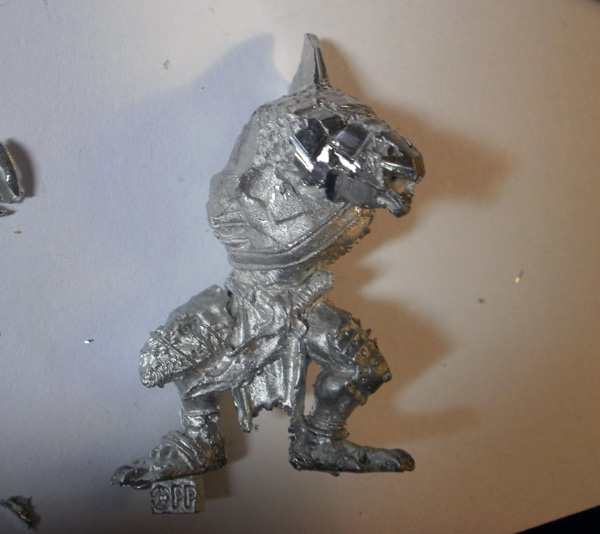
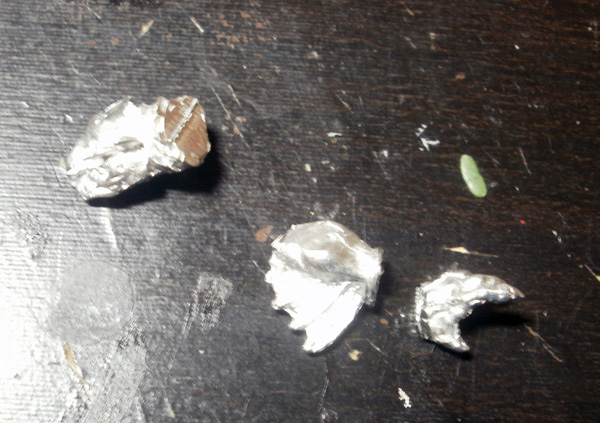
Step 1 was to cut everything off of the model that I didn’t like; in this case, I left the core of the head to give me something to sculpt on top of but removed all of the detail, and also trimmed off about half of the dorsal fin to let me replace it with something smaller and smoother.
It was at this point that I needed to decide what to replace the piranha face with, and after doing some really quick Googling, the answer seemed pretty self-evident:
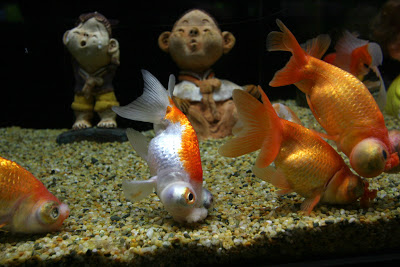
OH.
HELL.
YES.
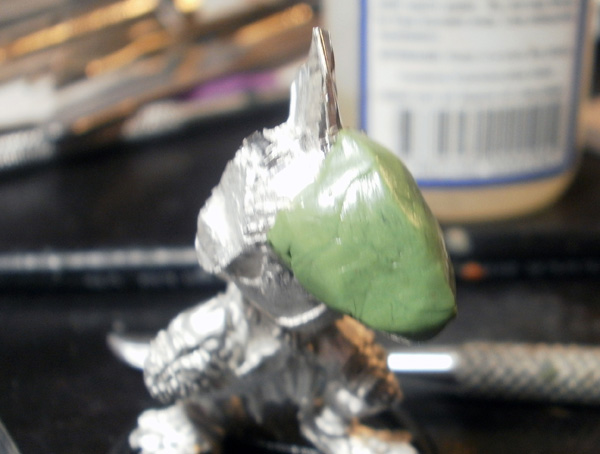
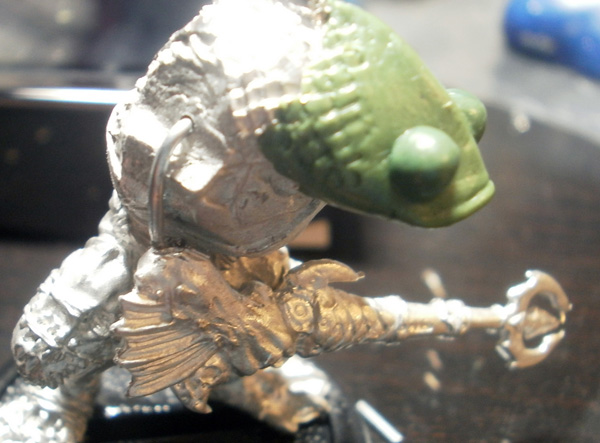
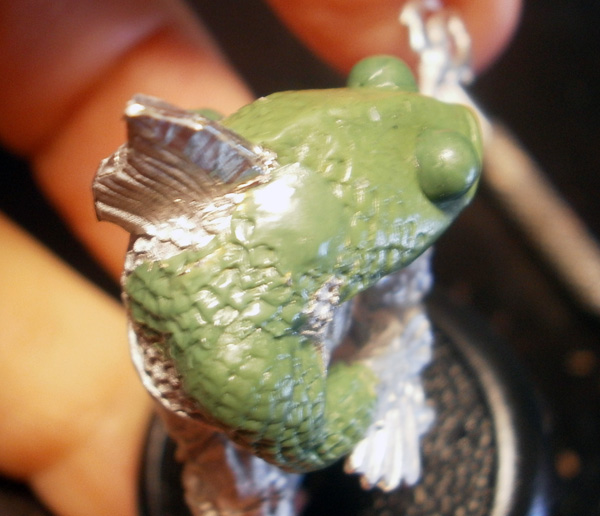
I mixed up some putty and slapped it onto the model, using a hoe tool to position it into the general shape of the fish’s head and clayshapers to smooth everything out.
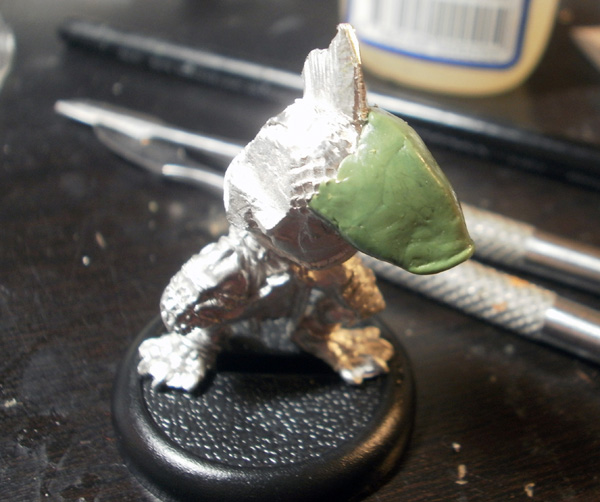
A bit more finessing let me put a ridge on the top of the head, and the edge of my hoe tool did a good job of etching a line for his mouth along the bottom.
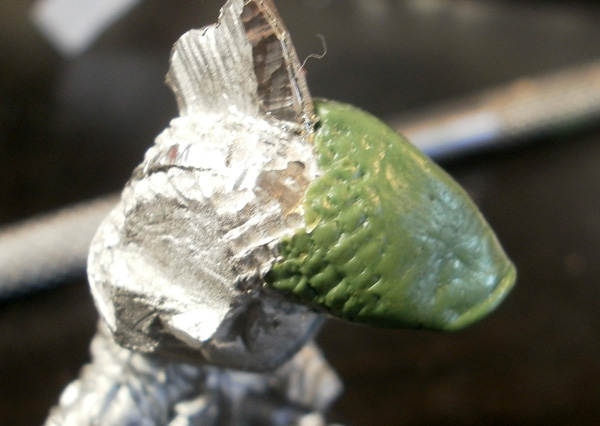
To get the interlocking scale pattern, I used the end of a standard XActo blade. Here’s an amazing drawing of how that technique works:
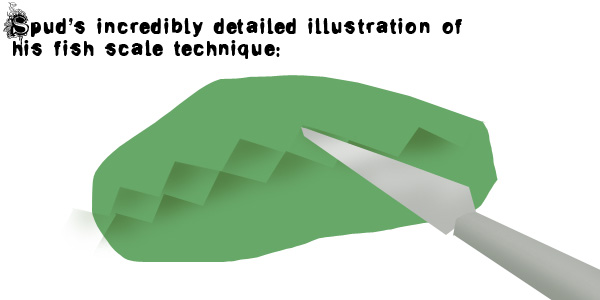
I pressed in one row, then moved up and made another row to interlock with the last one. For each scale, I pressed the back corner down the deepest to create a somewhat convincing raised pattern on the scales.

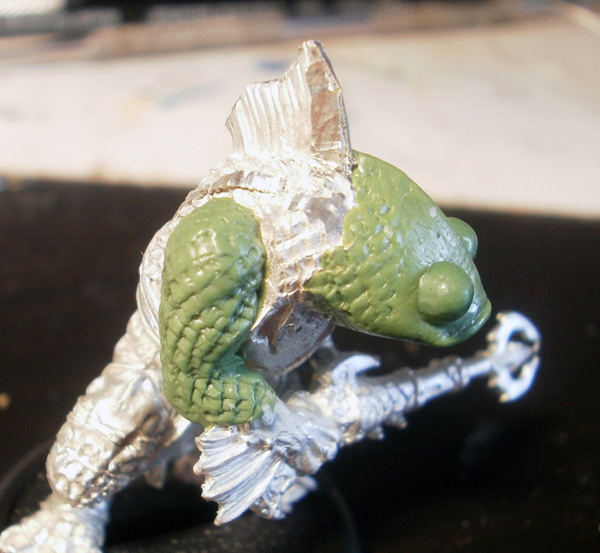
Once the initial head layer was set, I built the eyes. I didn’t want them to simply sit on the surface of the skin as they might later break off, so I used a thick drill bit to punch some 2mm-deep holes in the putty to give them something to latch onto.

In went the putty balls, which were then smoothed and rounded with Clayshapers.
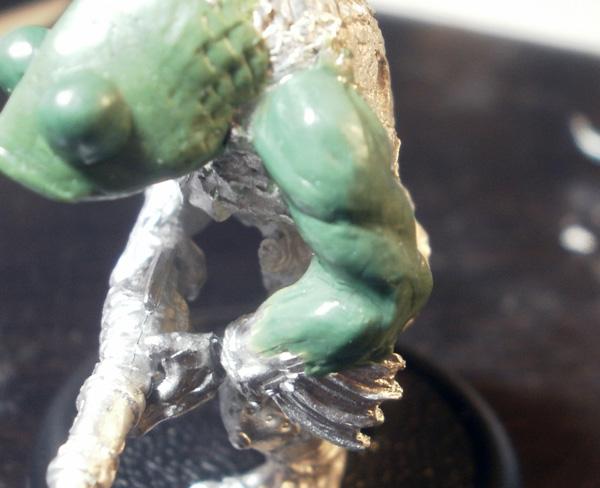
With the head moving along nicely, I set about re-posing the arms. I didn’t like Rask’s raised gun pose, so I decided to instead have him holding the gun in two hands, scanning for targets. Each arm was chopped at the joints; I would be discarding the upper arms, but the forearms and hands would be retained, so I used a pin vice to drill through the entire forearm section and into the hand.
A wire was threaded through this on each side, then bent and sunk into the model.
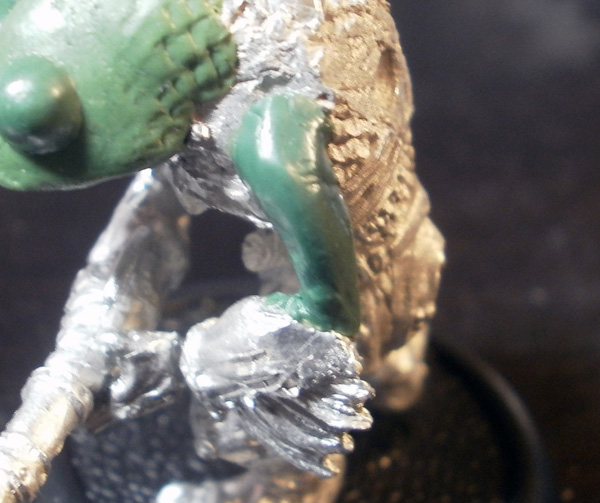
Once I was happy with the pose, I began applying putty. Here I’ve started with a thin layer as usual just to firm up the pose and give me something to press against in later layers.
Aaaaaaaand shakycam.
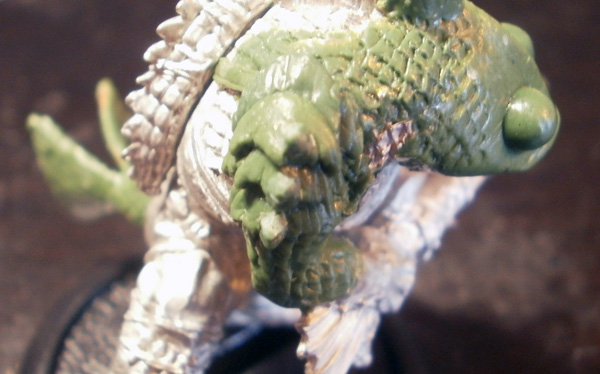
The first putty layer is now dry, so I apply the surface putty, first simply aiming to give it the right general shape…
…then adding musculature…
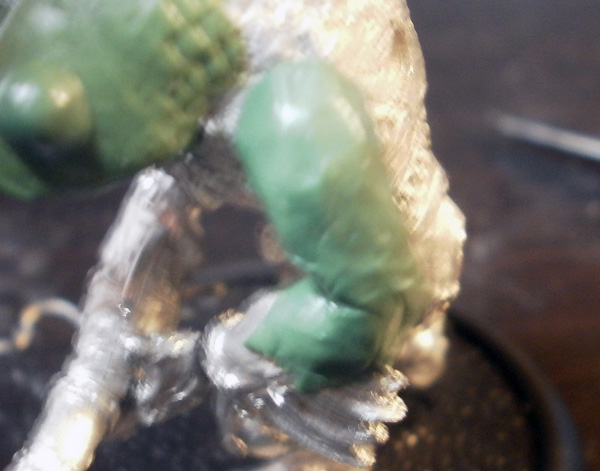
…and finally carving more scale patterns into the skin. I made the scales shallower on top of flat muscles, and deeper in crevices and underneath the arm, so that more of my paint washes would catch in these areas and create deeper areas of shade without me needing to do anything.
I then applied more putty to the model’s back and linked up the scale patterns of the arms with those of the head.
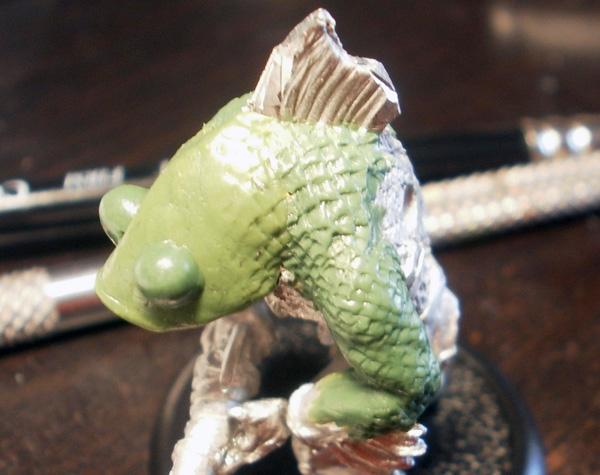
Looking pretty awesome so far. 🙂
Rask’s fins (on his back, arms, and tail) are ragged and scalloped, but the fish I was basing my Rask on have much smoother fins:
I was able to simply clip the back fin down as you’ve already seen, but the tail would require entirely new construction.
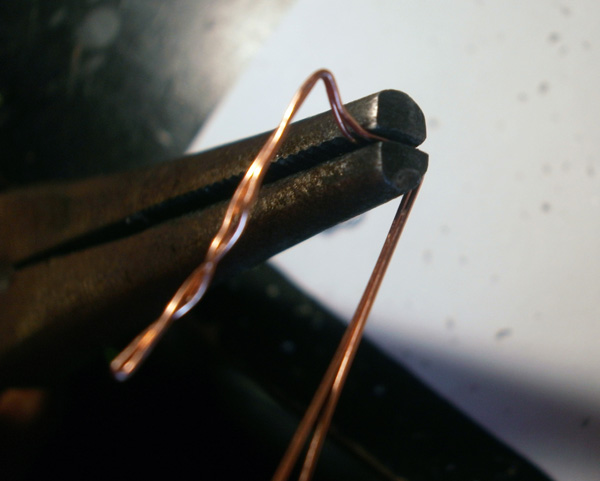
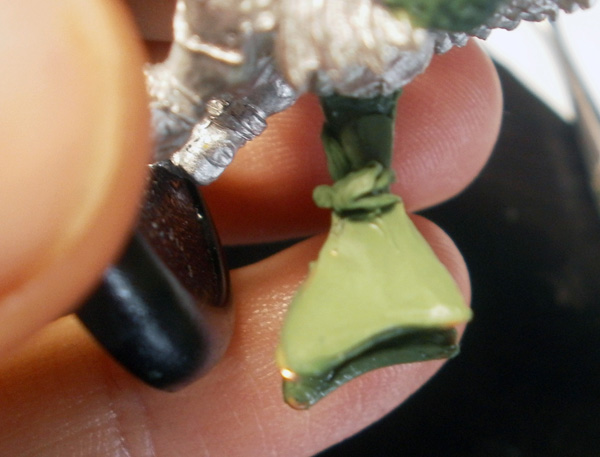
As always, new construction starts with wire. I used the thinnest wire I have, twisting the “root” together so that it can be embedded into the model, then leaving the paired fin armatures separate so that they can be pried apart at an angle.
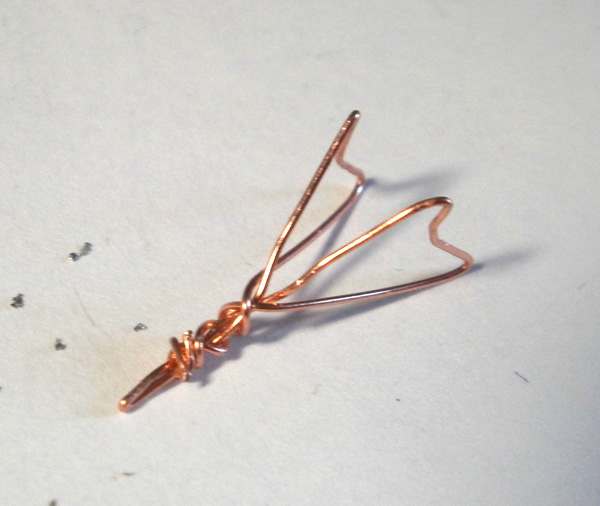
After an hour of bending, I had a shape I was pretty happy with.
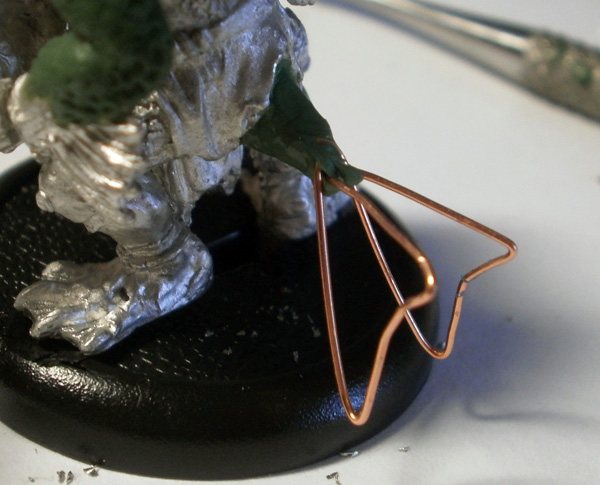
This went into the model’s butt, with a small blob of putty to immobilize it.
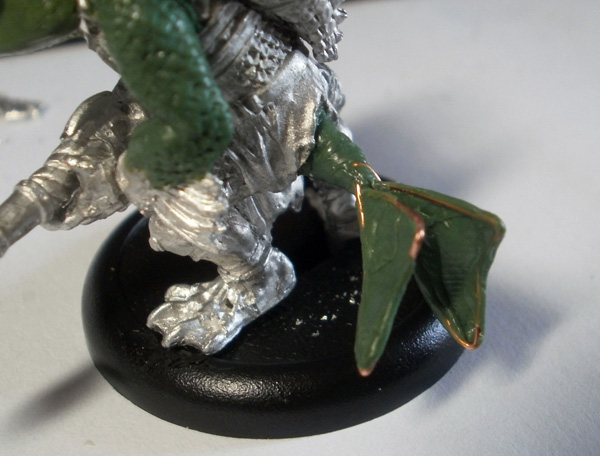
Once it was firmly set, I applied a very thin layer of putty to fill the wire frame; I stretched out very thin sheets of putty on my table, then cut out the vague triangular shapes I wanted and sticking them onto the wires. I had to keep them very thin, or else the next layer (with the actual tail detail) would come out too fat.
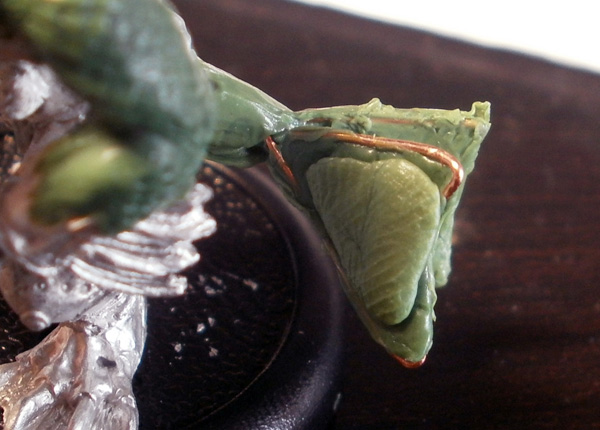
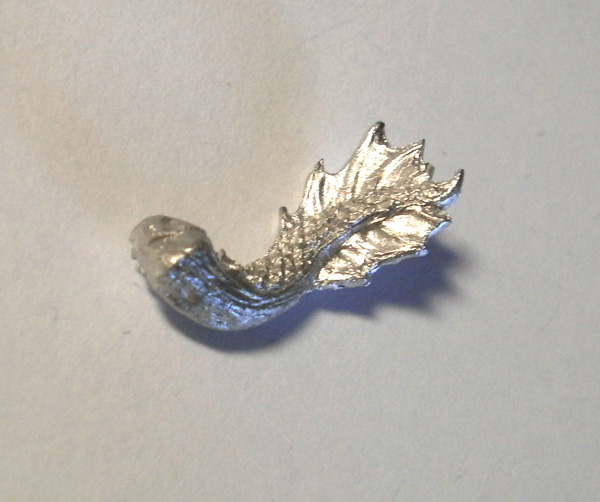
I gave the thin sheets a full day to set, then applied putty on top and got to work.
I used my hoe tool to stretch the putty blobs out over the tail, scrunching the excess up at the base of the tail where it could be removed.
It doesn’t look like I got a shot of the tail detail, but it isn’t anything exciting– horizontal lines on the fins, with a small area of scale texture on the muscly part. Easy-peasy!

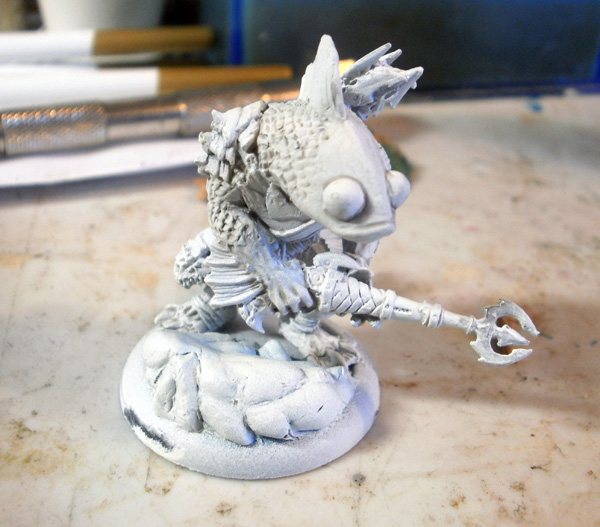
Rask has shoulder pads on both arms, but I really like asymmetrical armor, so I decided to only put one pad on. I left the left arm exposed because I liked the detail better on that side, which meant the right side had the honour of being covered in bone plates.
I did my best to reproduce the shape and texture of Rask’s actual shoulder pad; it came out lumpier than I wanted, but I only had two days until the event at this point, so I called it “goof enough” and moved on.
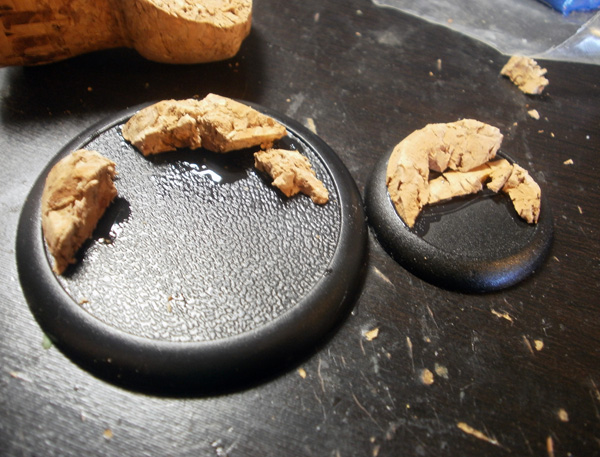
The basing on these guys didn’t work out quite how I wanted. I needed them to fit in with my Legion’s snow basing, but I also wanted them to be standing in water, so I needed to have enough “land area” for snow without crowding them out of their bases. I was ultimately only moderately successful in this, as both ended up being a slightly awkward fit once I’d put putty on the bases.
At this point the modeling was done, leaving only the painting. I usually skip the painting step-by-step because I usually just use the same techniques over and over again and they aren’t as interesting to me as sculpting; however, I was pretty proud of the way the scale paint came out, so let’s quickly dive through that to see how I did it:
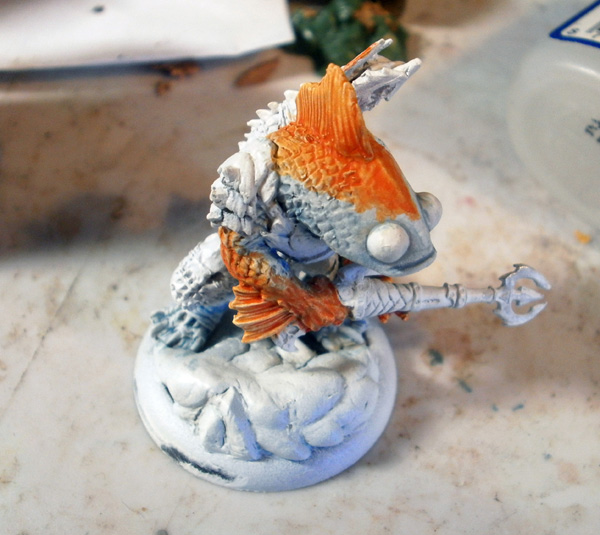
The model was primed white, and then all of the scale areas were washed very lightly with 50% Fortress Grey/50% Ceramite White.
Next, I mixed up a wash of 50% Ice Blue/50% Skull white, and wet blended it into the bottom half of each scale area. This would be my “deepest shade”, as I wanted the end result to be a very clean white.
(I don’t remember if I did it now or later and I can’t tell from the photos, but all of the up-facing scales were re-highlighted at some point in 50% Ceramite White/50% Matte Medium to make them look crisper and cleaner following the washes)
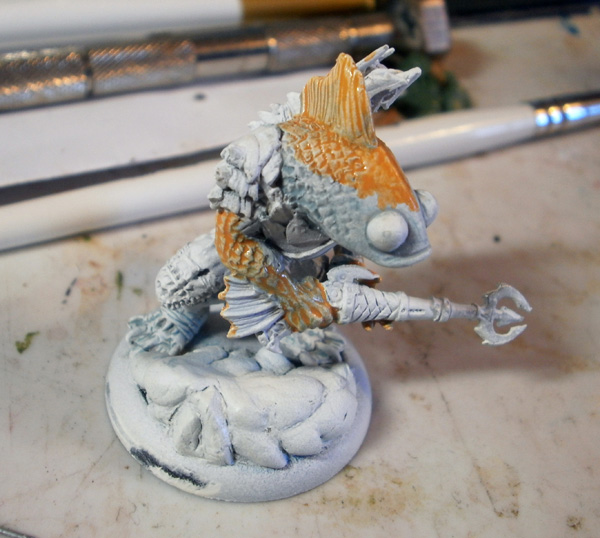
Once the white areas had dried, I started the orangey red areas. Here I’ve started by washing with 50% Blazing Orange/50% Golden Yellow, which ends up being 80% orange because yellow is so weak in a mix.
Once that was set, I wet blended with 75% Blazing Orange/25% Blood Red. This wasn’t arranged so much as a shade– following my fish photo, I simply made the model redder toward the front, and more yellowy-orange toward the back.

A final layer of 50% Blazing Orange/50% Blood Red was washed at the very front, and in the areas of the head where I hadn’t sculpted scales, I used this last orange stage to draw out a continuation of the pattern.
The other thing to note in this photo: even though the resultant effect is more like muppet eyes, I was attempting to make it clear that the white areas of this fish’s eyes are skin; I applied a thin wash of whitey-yellow in splotches toward the front because that’s how the actual fish is set up.
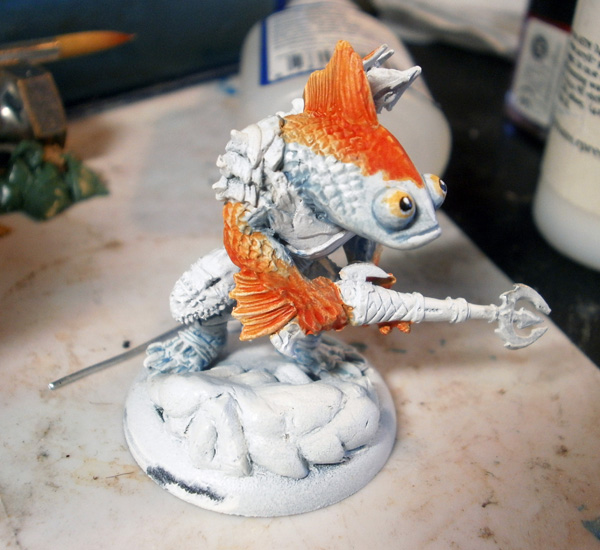
Once that was dry, I applied black dots, and then highlighted those with white.
Like I said, it looks like a muppet, but there wasn’t much else I could do, dammit! 😛
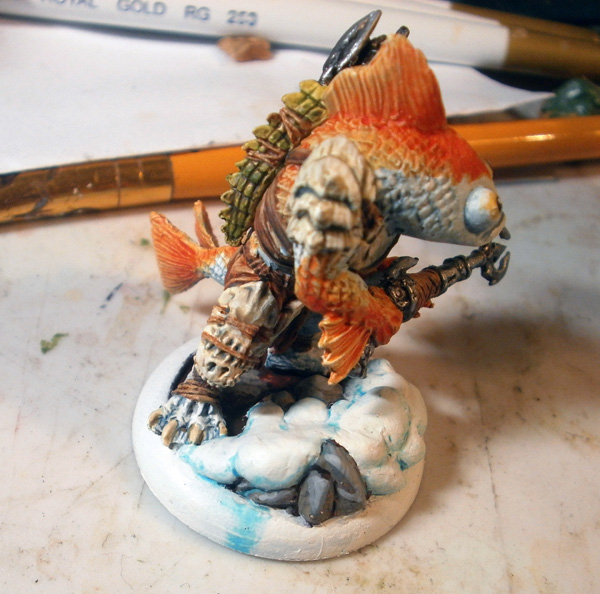
Aaaaand then everything else got painted in standard earth tones.
YAWN.
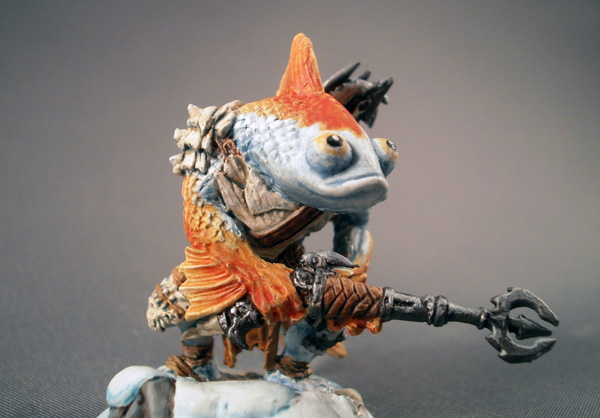
Let’s look at some purty pitchurs.
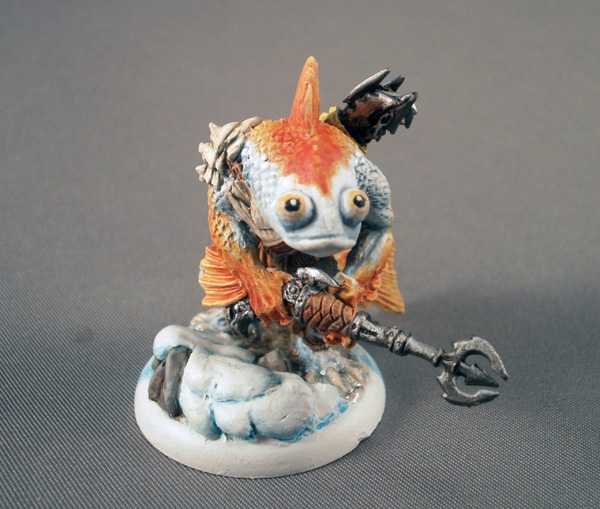
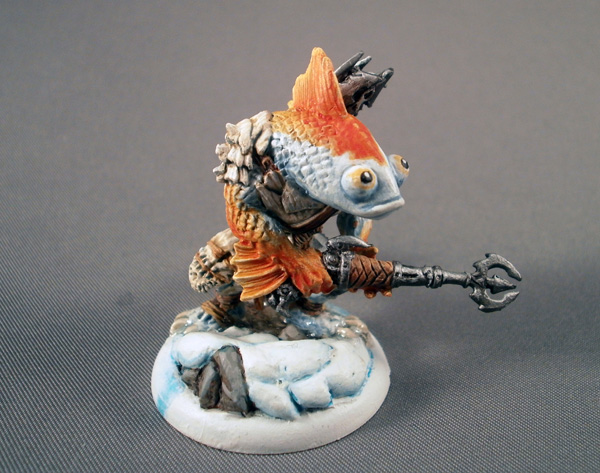


And that, ladies and gents, is how I ended up with a Koi Rask for the Gargantuans event. However, there’s still one component of this insanity yet to be revealed, and its amazingness makes Rask look like a pile of fish poop.

Wait… do fish poop?
I honestly don’t know.
Let’s just say that they do.
Yes we do.